- v1.0.0-latest-prod
In this walkthrough we’ll provide a step-by-step guide to creating a banner carousel that you might find on the homepage of a site. We’ll also take the time to discuss some of the different pieces that make up the Content Services. This guide will only touch upon the Content Services aspects of the solution, and will only touch lightly upon the front-end implementation.
The first step to creating our banner carousel is to create the Content Model that will represent our banners. A Content Model defines the fields that are used to store the data for a particular content type. In this case, we’ll create a Content Model called "Banner" that will have the following fields:
Asset - The image that will be displayed in the banner
Title - The title of the banner (used for accessibility)
Link - The link that the banner will navigate to when clicked
Description - A description of the banner (used for accessibility)
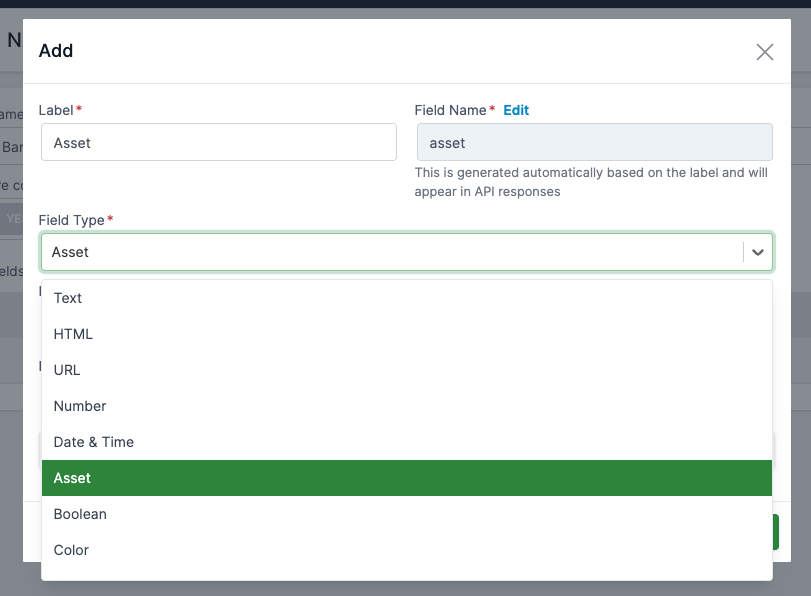
When defining fields for a Content Model, you can choose from a variety of different field types such as text, number, date, and asset. In this case, we’ll use the asset field type for the "Asset" field, and the text type for the "Link", "Title" and "Description" fields.
In addition to its fields, a Content Model has a name and the ability to define a base URL if it can be addressable via a URL. In this case, we’ll name our Content Model "Banner" and say that we don’t want a URL. Some Content Models, such as a "Blog Post" or "News Article" might be addressable via a URL, but in this case we’ll just be using the Content Model to store data to be rendered on the page.
That’s all it takes to set up a Content Model. Now that we have a Content Model, we can create some content using it.
Creating actual content items is very similar to creating a Content Model. In this case, we’ll create a content item for each banner that we want to display in our carousel. We’ll create three content items, each with a different image, title, link, and description.
The form for creating Content Items is generated based on the fields defined in the Content Model. In this case, we’ll see a form that looks like this:
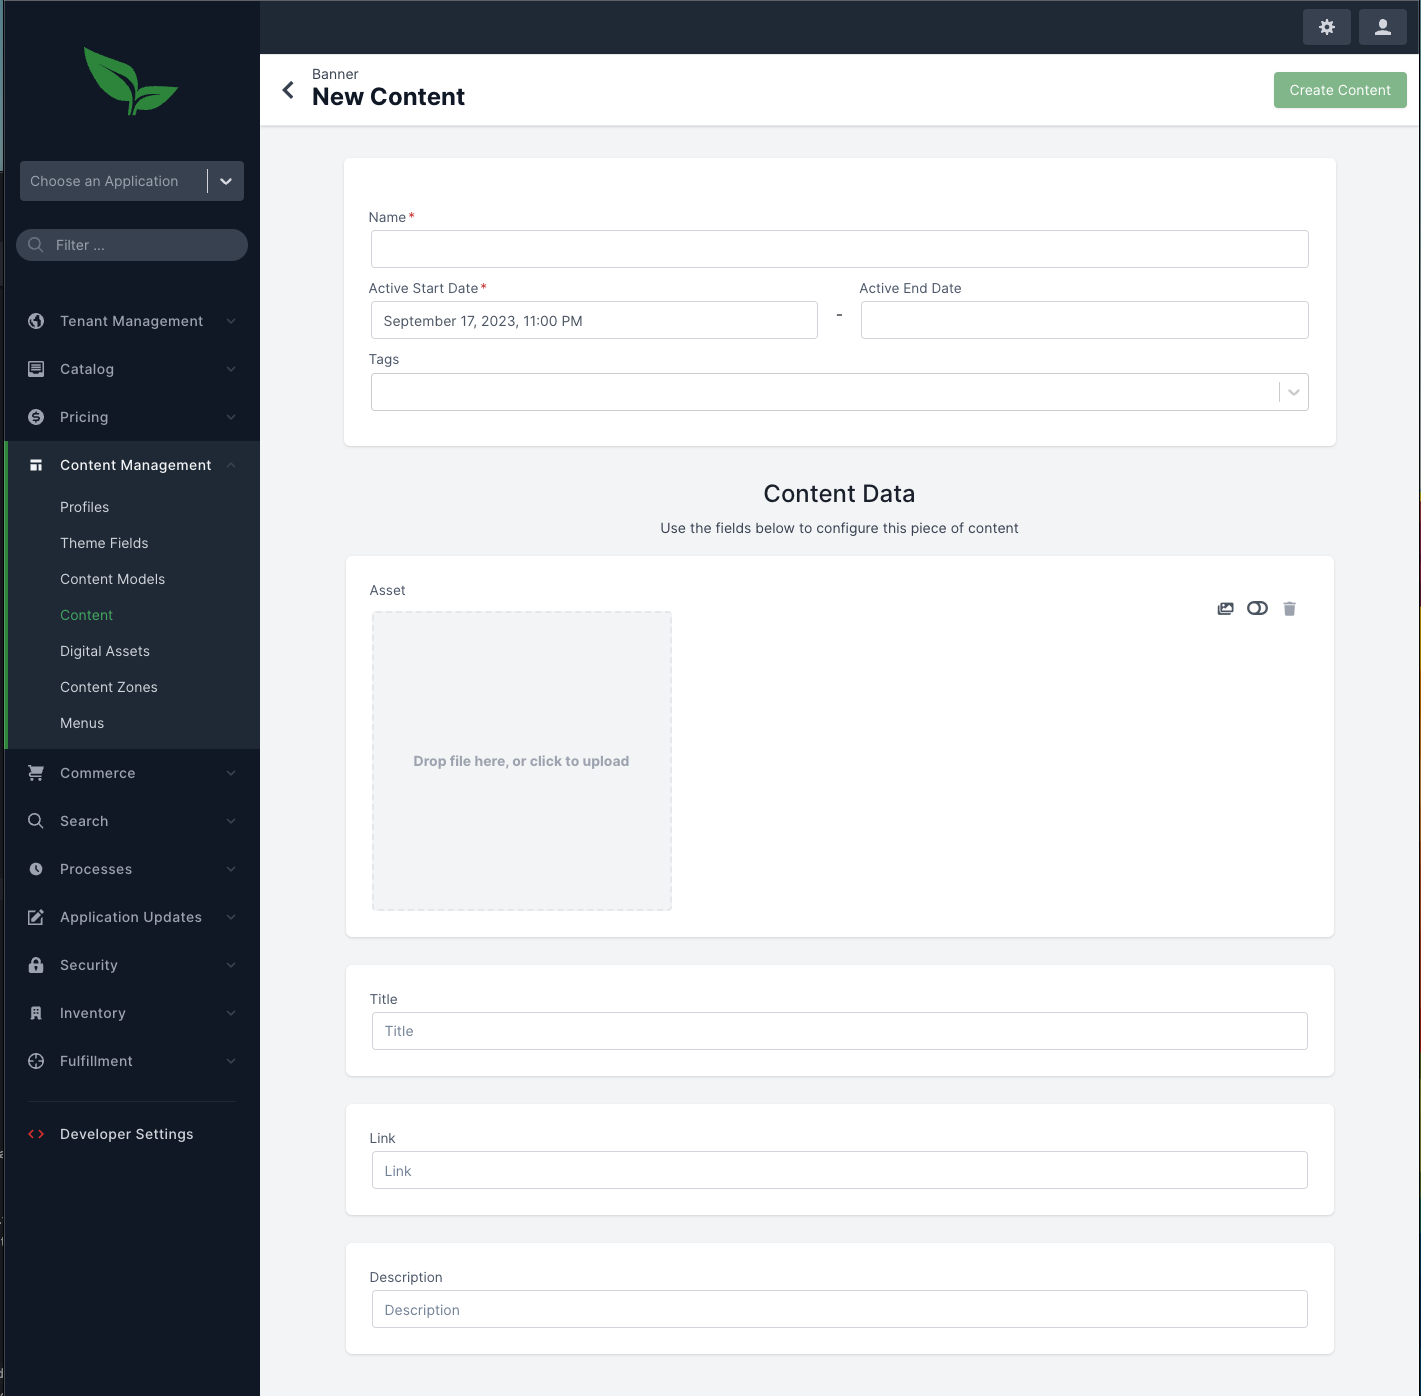
We can fill out the form with the data for our first banner, and then repeat the process for the other two banners. Once we’ve created our three banners, we can move on to creating a Content Zone to display them.
A Content Zone is a basically a placeholder for content on the storefront. It is addressed by its name and resolves any associated content based on the given context. Content Zones can specify the types of content that they will accept, making a sort of contract between the service and the storefront so that it knows how to display what it receives.
We’ll name the Content Zone "Banner Carousel" and specify that it will accept content of type "Banner":
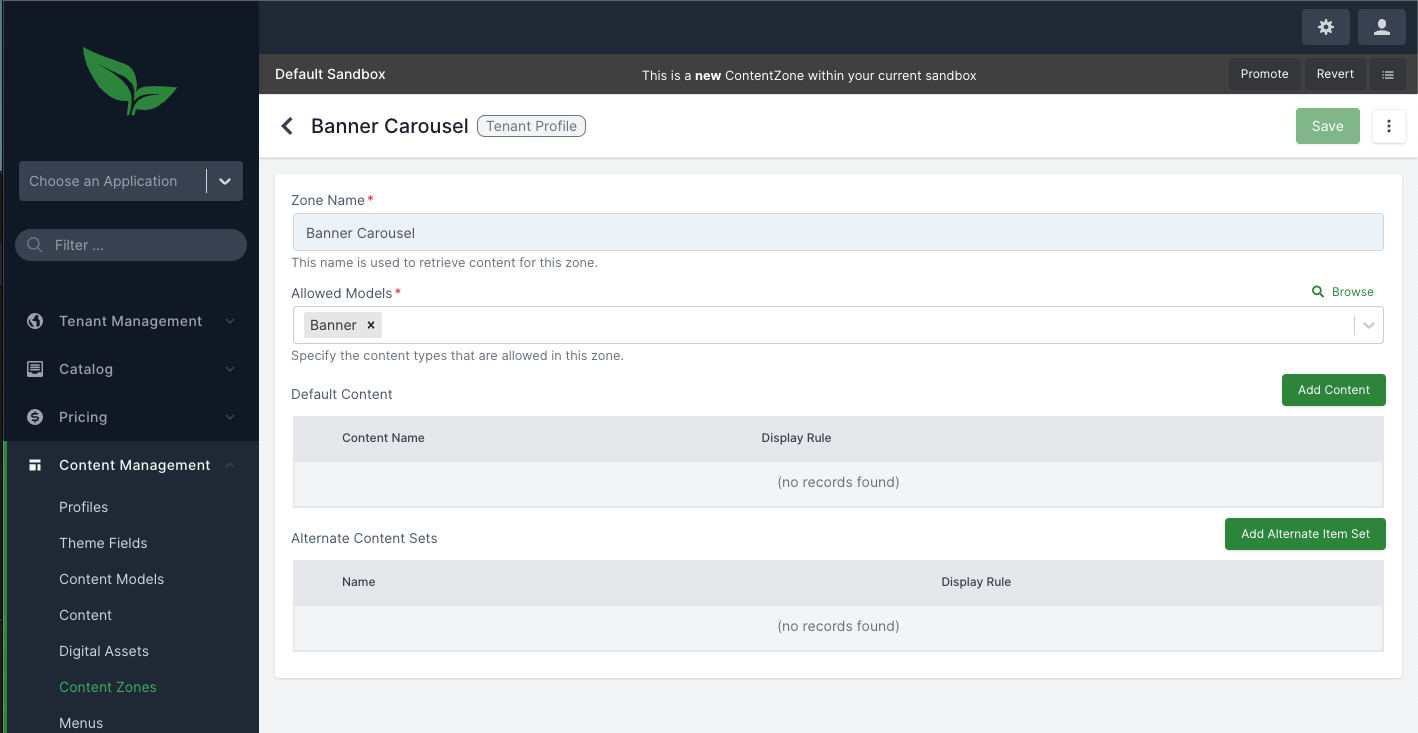
Once we’ve created the Content Zone, we can add our three banners to it. We’ll do this in the "Default Content" grid. While adding content, there are several options that we can specify:
Content Item Membership Type - This allows us to specify how the content will be associated with the Content Zone. This can be either "Explicit", meaning we manually select the content, or "Rule Based," where we can define a rule that will automatically select content based on the context.
Name - This is the name of the content item that will be displayed in the Content Zone.
Display Rule - This is the rule that will be used to determine if the content item should be displayed. This allows us to add content that will only show in certain contexts (e.g. only show when the customer is authenticated).
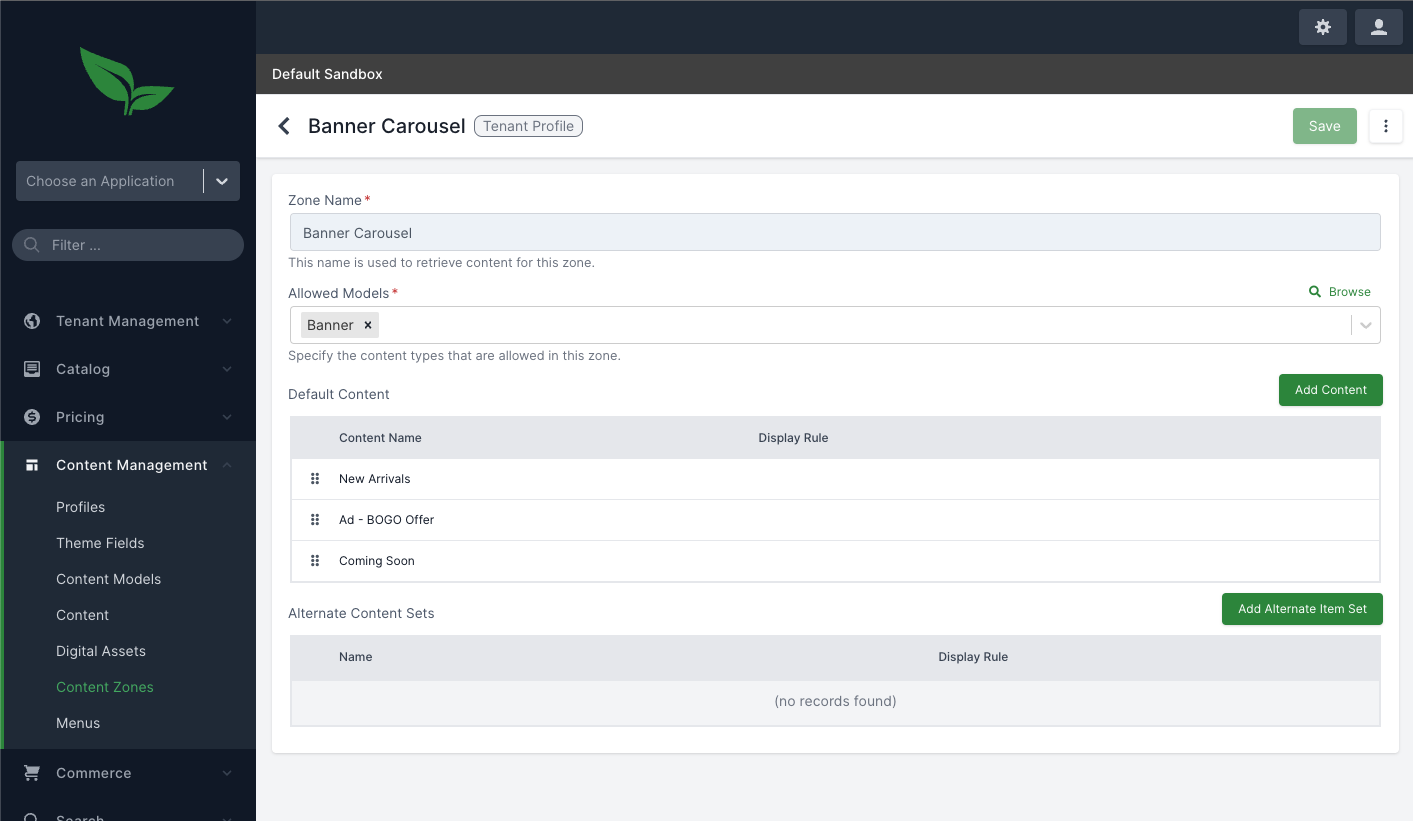
In this case, we’ll select "Explicit" for the membership type, and then select our three banners one at a time from the list of available content items. We’ll leave the display rule blank so that each item always shows.
Note: The "Default Content" grid is just one way to add content to a Content Zone. You can also add content to a Content Zone by using the "Alternate Content Sets" grid on the Content Zone detail page. This allows you to add sets of content that will be displayed based on the context. For example, you could add a set of content that will only be displayed when a particular display rule is met. This is useful when you want to display a set of content that is only relevant in a particular context. When a display rule matches for an "Alternate Content Set", the content in the set will be displayed instead of the content in the "Default Content" grid.
Now that we have our Content Zone set up, everything is ready to go. We can now move on to the storefront and see how to display the content.
The easiest way to get started displaying content on the storefront is to use our Commerce SDK. The Commerce SDK is a set of Javascript libraries that make it easy to interact with the various Broadleaf Microservices, including Content Services. We’ll cover the basics, but see the Commerce SDK documentation for more information on how to use it.
The Commerce SDK exposes a client for each microservice that is accessible from the storefront. In this case we’ll quickly set up a client for the Content Services:
import { ContentClient } from '@broadleaf/commerce-content';

const APPLICATION_TOKEN = `${YOUR_APPLICATION_TOKEN}`; (1)
const BASE_HOST = `${YOUR_PUBLIC_BASE_URL}`; (2)

export const contentClient = new ContentClient({
  applicationToken: APPLICATION_TOKEN,
  baseHost: BASE_HOST
});
(1) This is the unique "Application Token" for your store. You can find this by logging into your instance and looking at the application’s properties page.
(2) This is the base URL for your application (i.e. https://demo123.broadleafcommerce.org)
Once we have a client set up, we can use it to retrieve content from the Content Services. In this case, we’ll retrieve the content for our "Banner Carousel" Content Zone:
const response = await contentClient.getContentItems({
  contentZoneName: 'Banner Carousel'
});
const items = response.results;
This will return an array of content items that we can use to render the content on the page. Each content item will contain the data that we entered when creating the content item, as well as some additional metadata. The metadata will include things like the ID of the content item, the name of the Content Model that it is associated with, and the ID of the Content Zone that it is associated with.
With this the storefront can render the items in whatever way it sees fit.
That’s all it takes to create a banner carousel using the Content Services. We’ve covered the basics of creating a Content Model, creating content items, creating a Content Zone, and then displaying the content on the storefront. There are many more features of the Content Services that we didn’t cover here, but this should be enough to get you started.