Broadleaf Microservices
  • v1.0.0-latest-prod

IntelliJ Setup

The Intellij IDE is a great tool for developing on top of Broadleaf Commerce (the majority of our team uses it to develop the Broadleaf framework itself) and highly recommend it as the primary IDE for backend API development. This guide will take you through the steps to of importing a Broadleaf Initializr project into IntelliJ so that you can modify, build, and run it.

Prerequisites

  • IntelliJ 11+ or IntelliJ Ultimate Edition (recommended) for enhanced Spring and database support

  • A Broadleaf Manifest Project generated from Broadleaf Initializr

  • After downloading a manifest, the below instructions assumes you have already run ./mvnw clean install flex:generate to create your initial starter projects

You should have a directory structure similar to the following on your machine:

Example structure for a Mono/One Flex Package:

project
│   pom.xml <------ Generated Loose Binding POM
│
└── manifest
│   │   pom.xml
│   │   HELP.md
│   │   ...
│   └── src / main / resources
│       │   manifest.yml
│
└── auth <------ Generated Auth Project Folder
└── one <------ Generated One Project Folder
└── data <------ Generated Data Project Folder

Setting Up The Project

Click Import Project on the IntelliJ welcome window.

IntelliJ Import Project Window

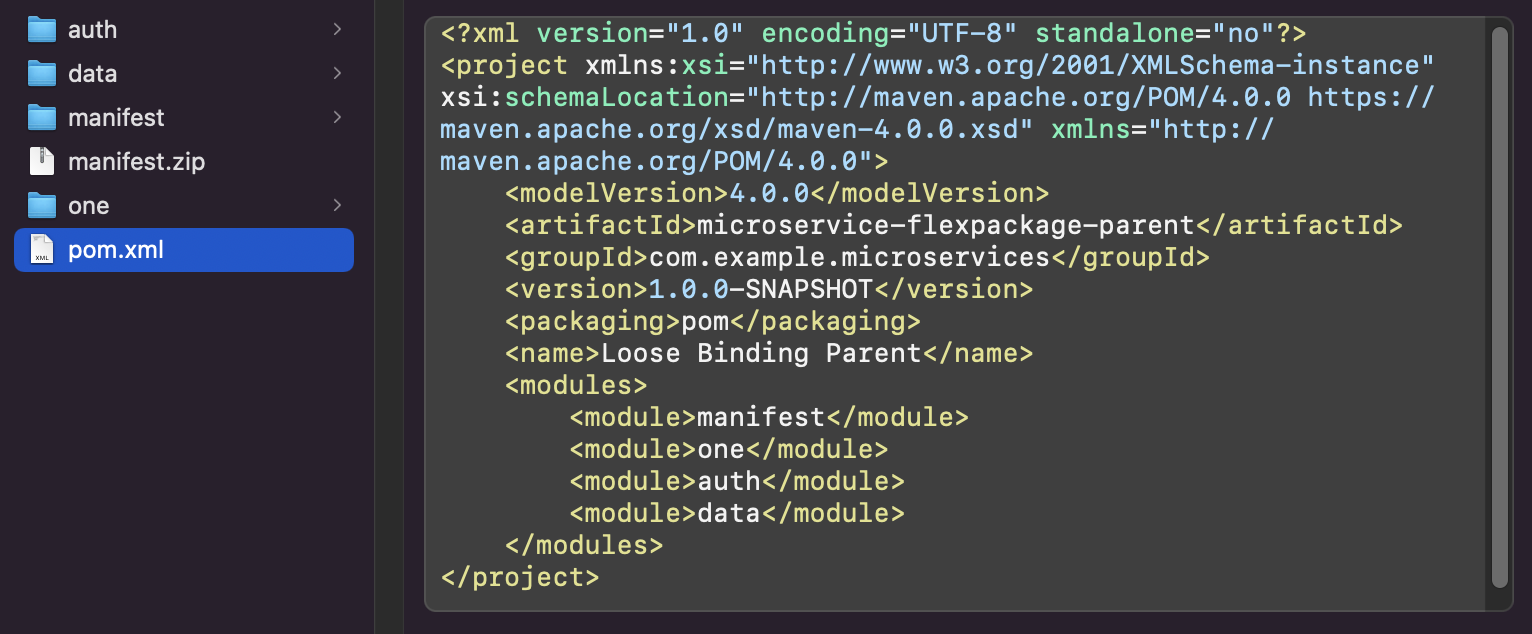
Select the Generated Loose Binding pom.xml in the root of your project.

IntelliJ choose Loose Binding pom.xml

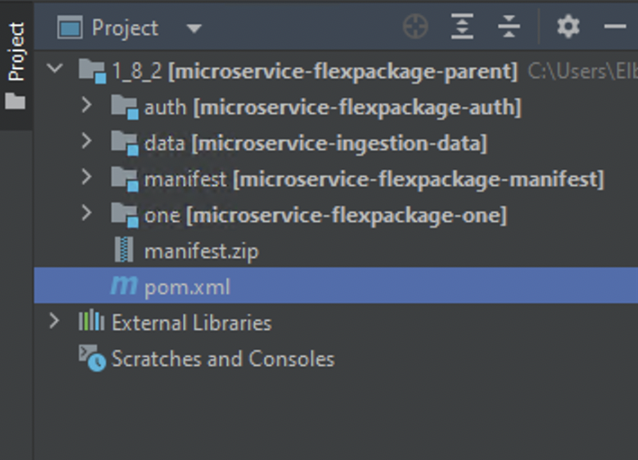
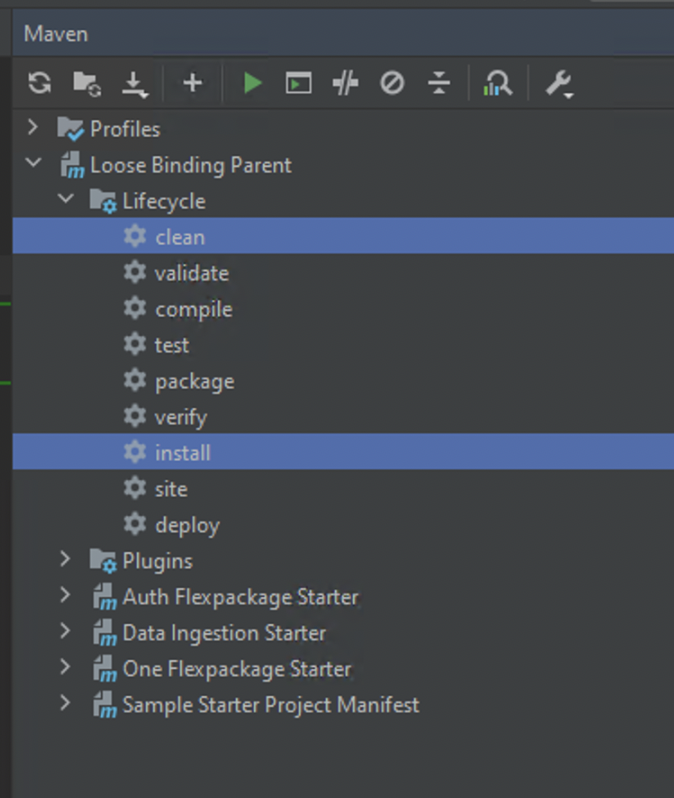
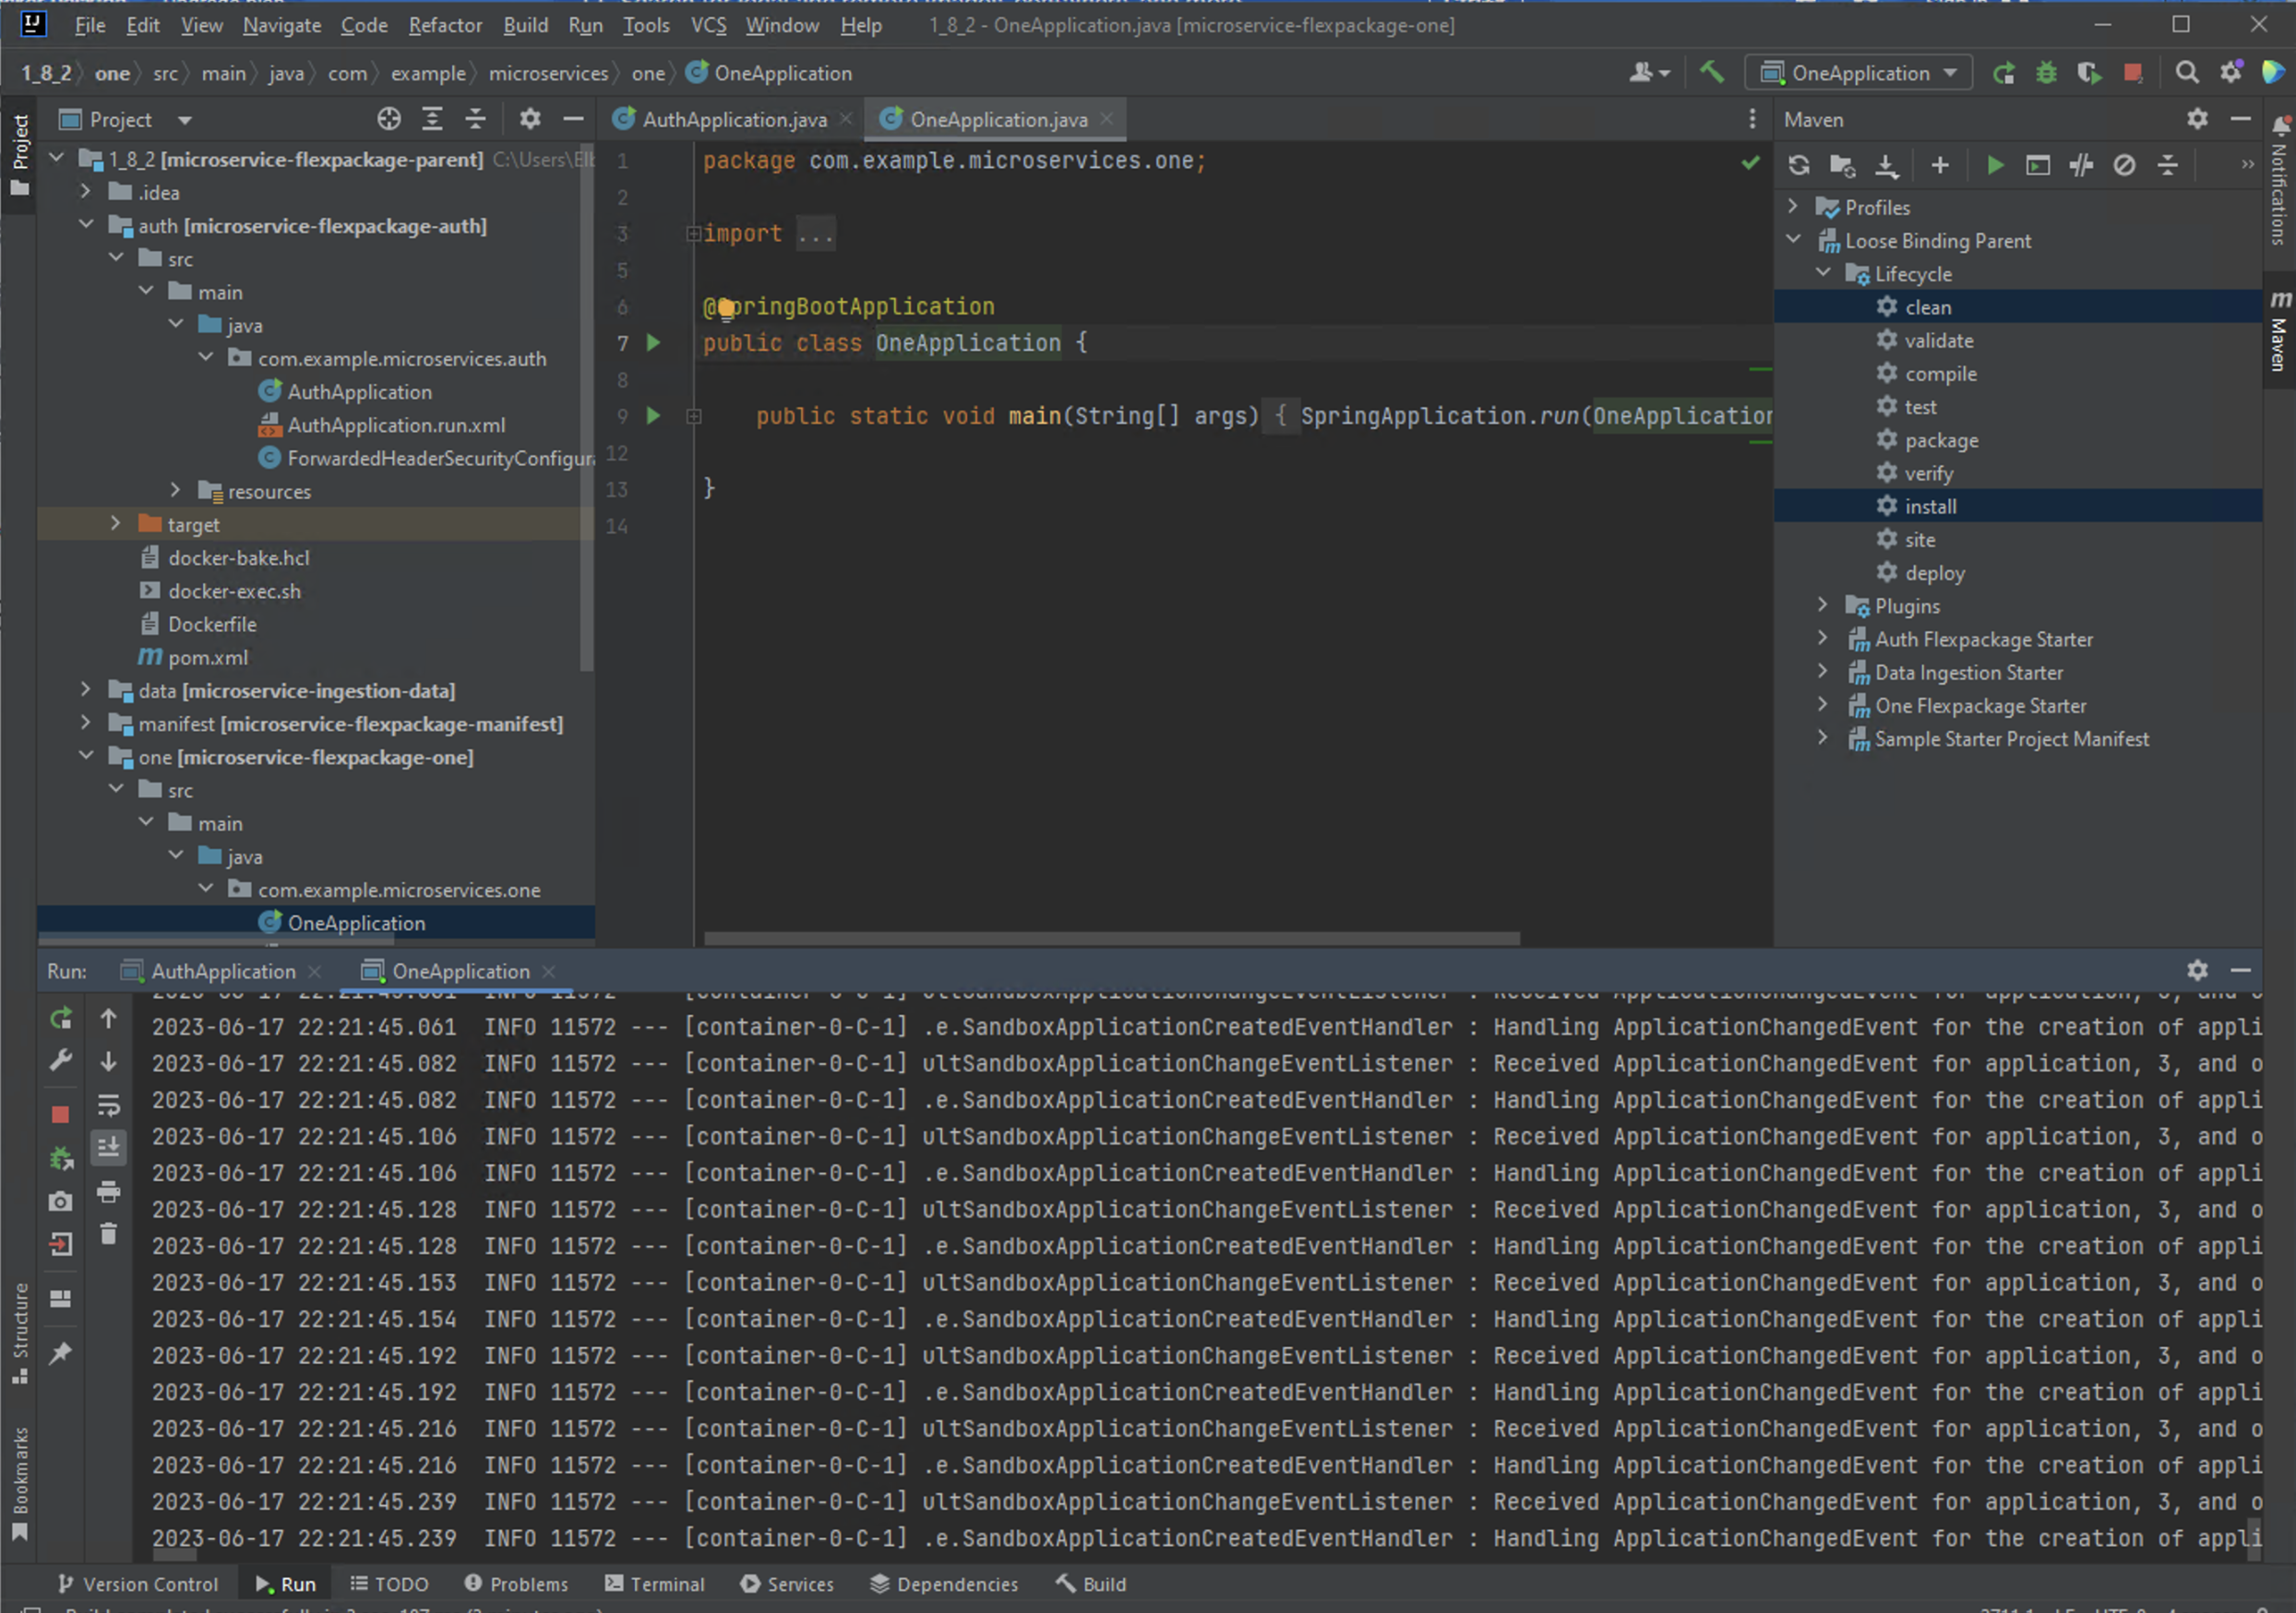
At this point, IntelliJ should have detected your Maven project structure and should have created an IntelliJ project resembling the following :

IntelliJ Project Structure

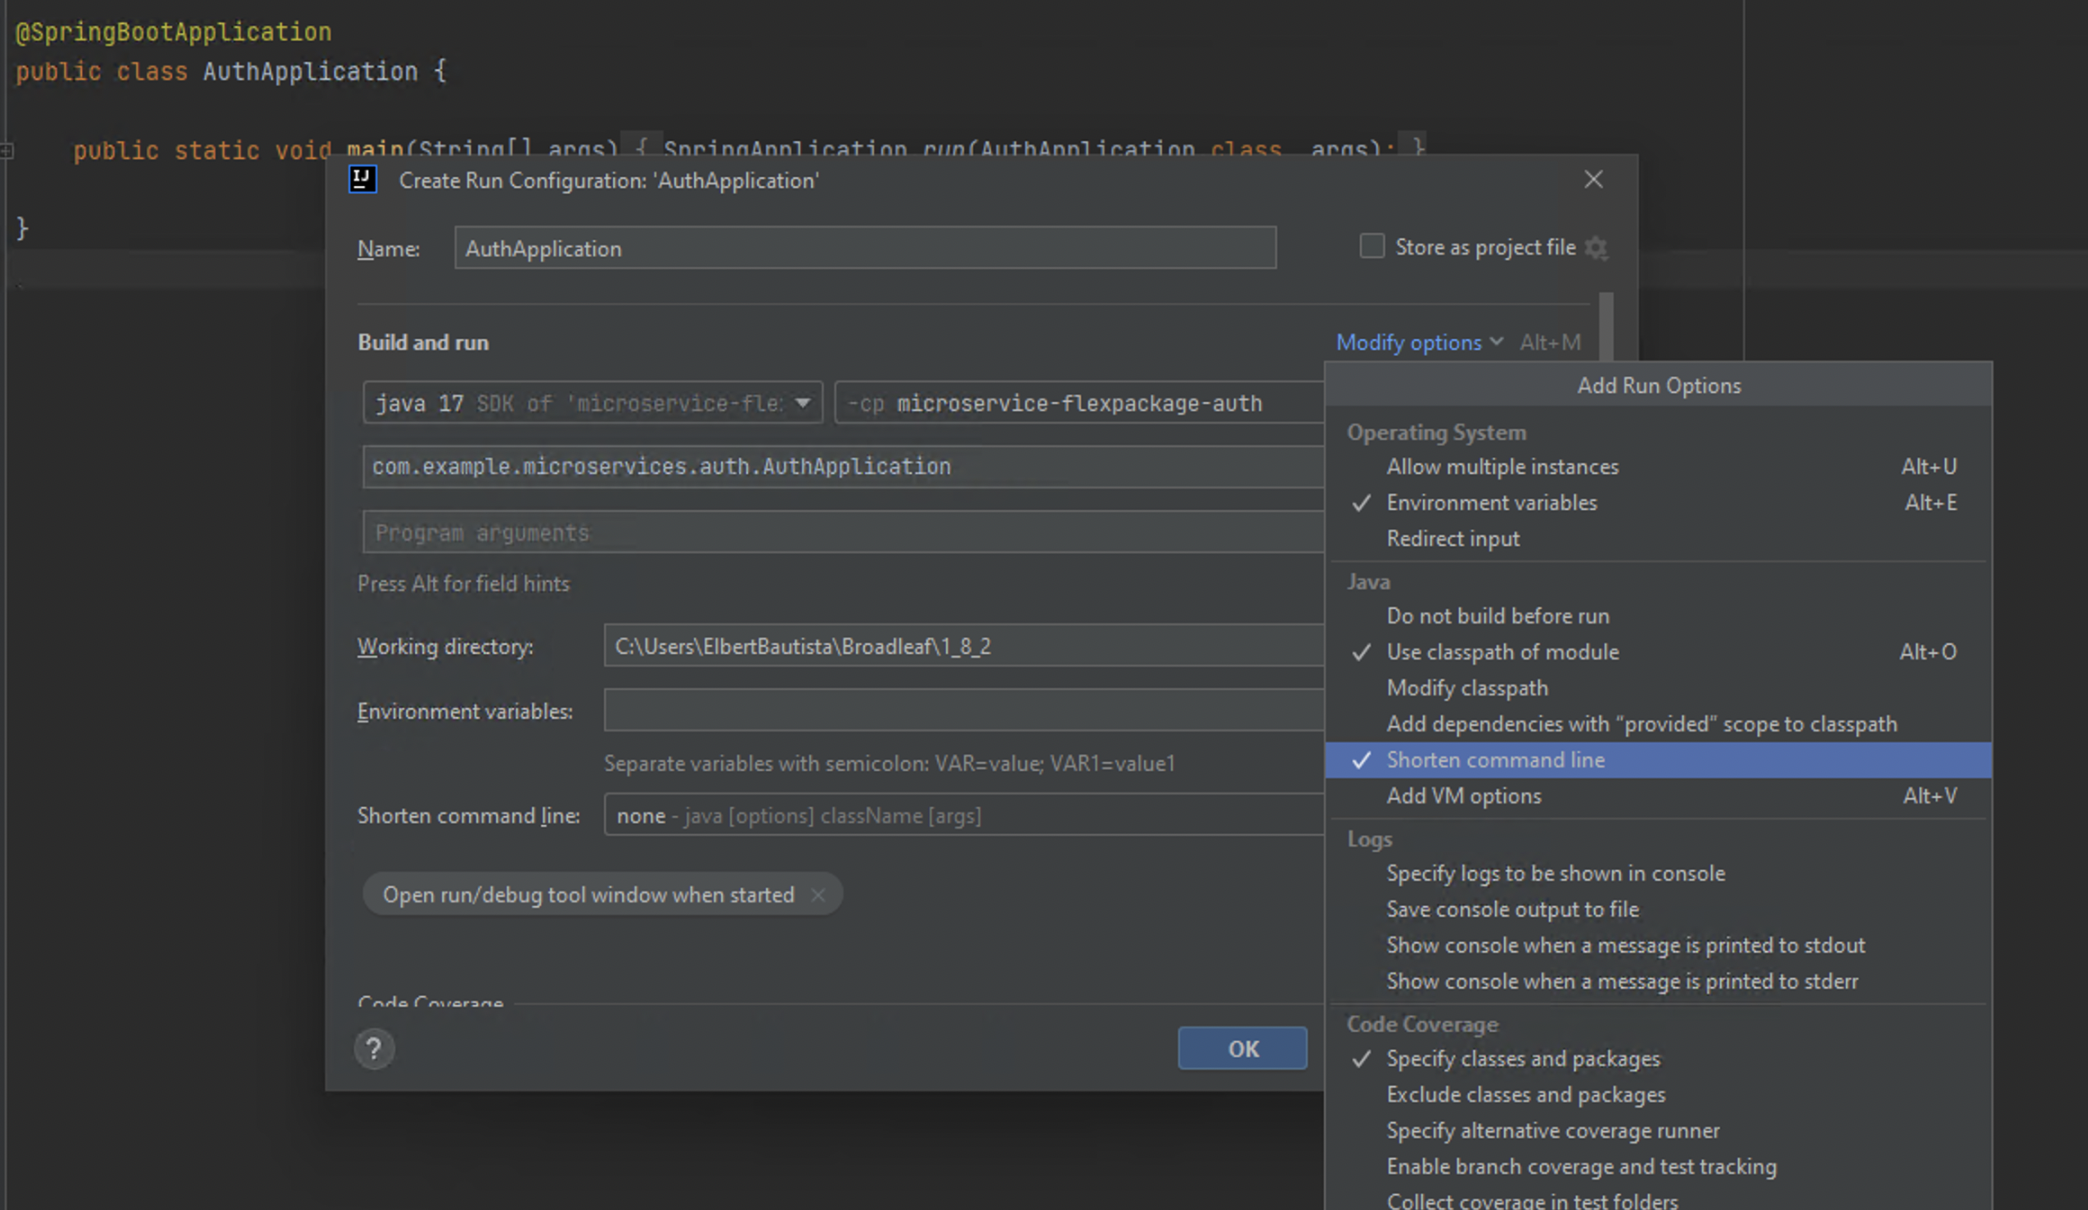
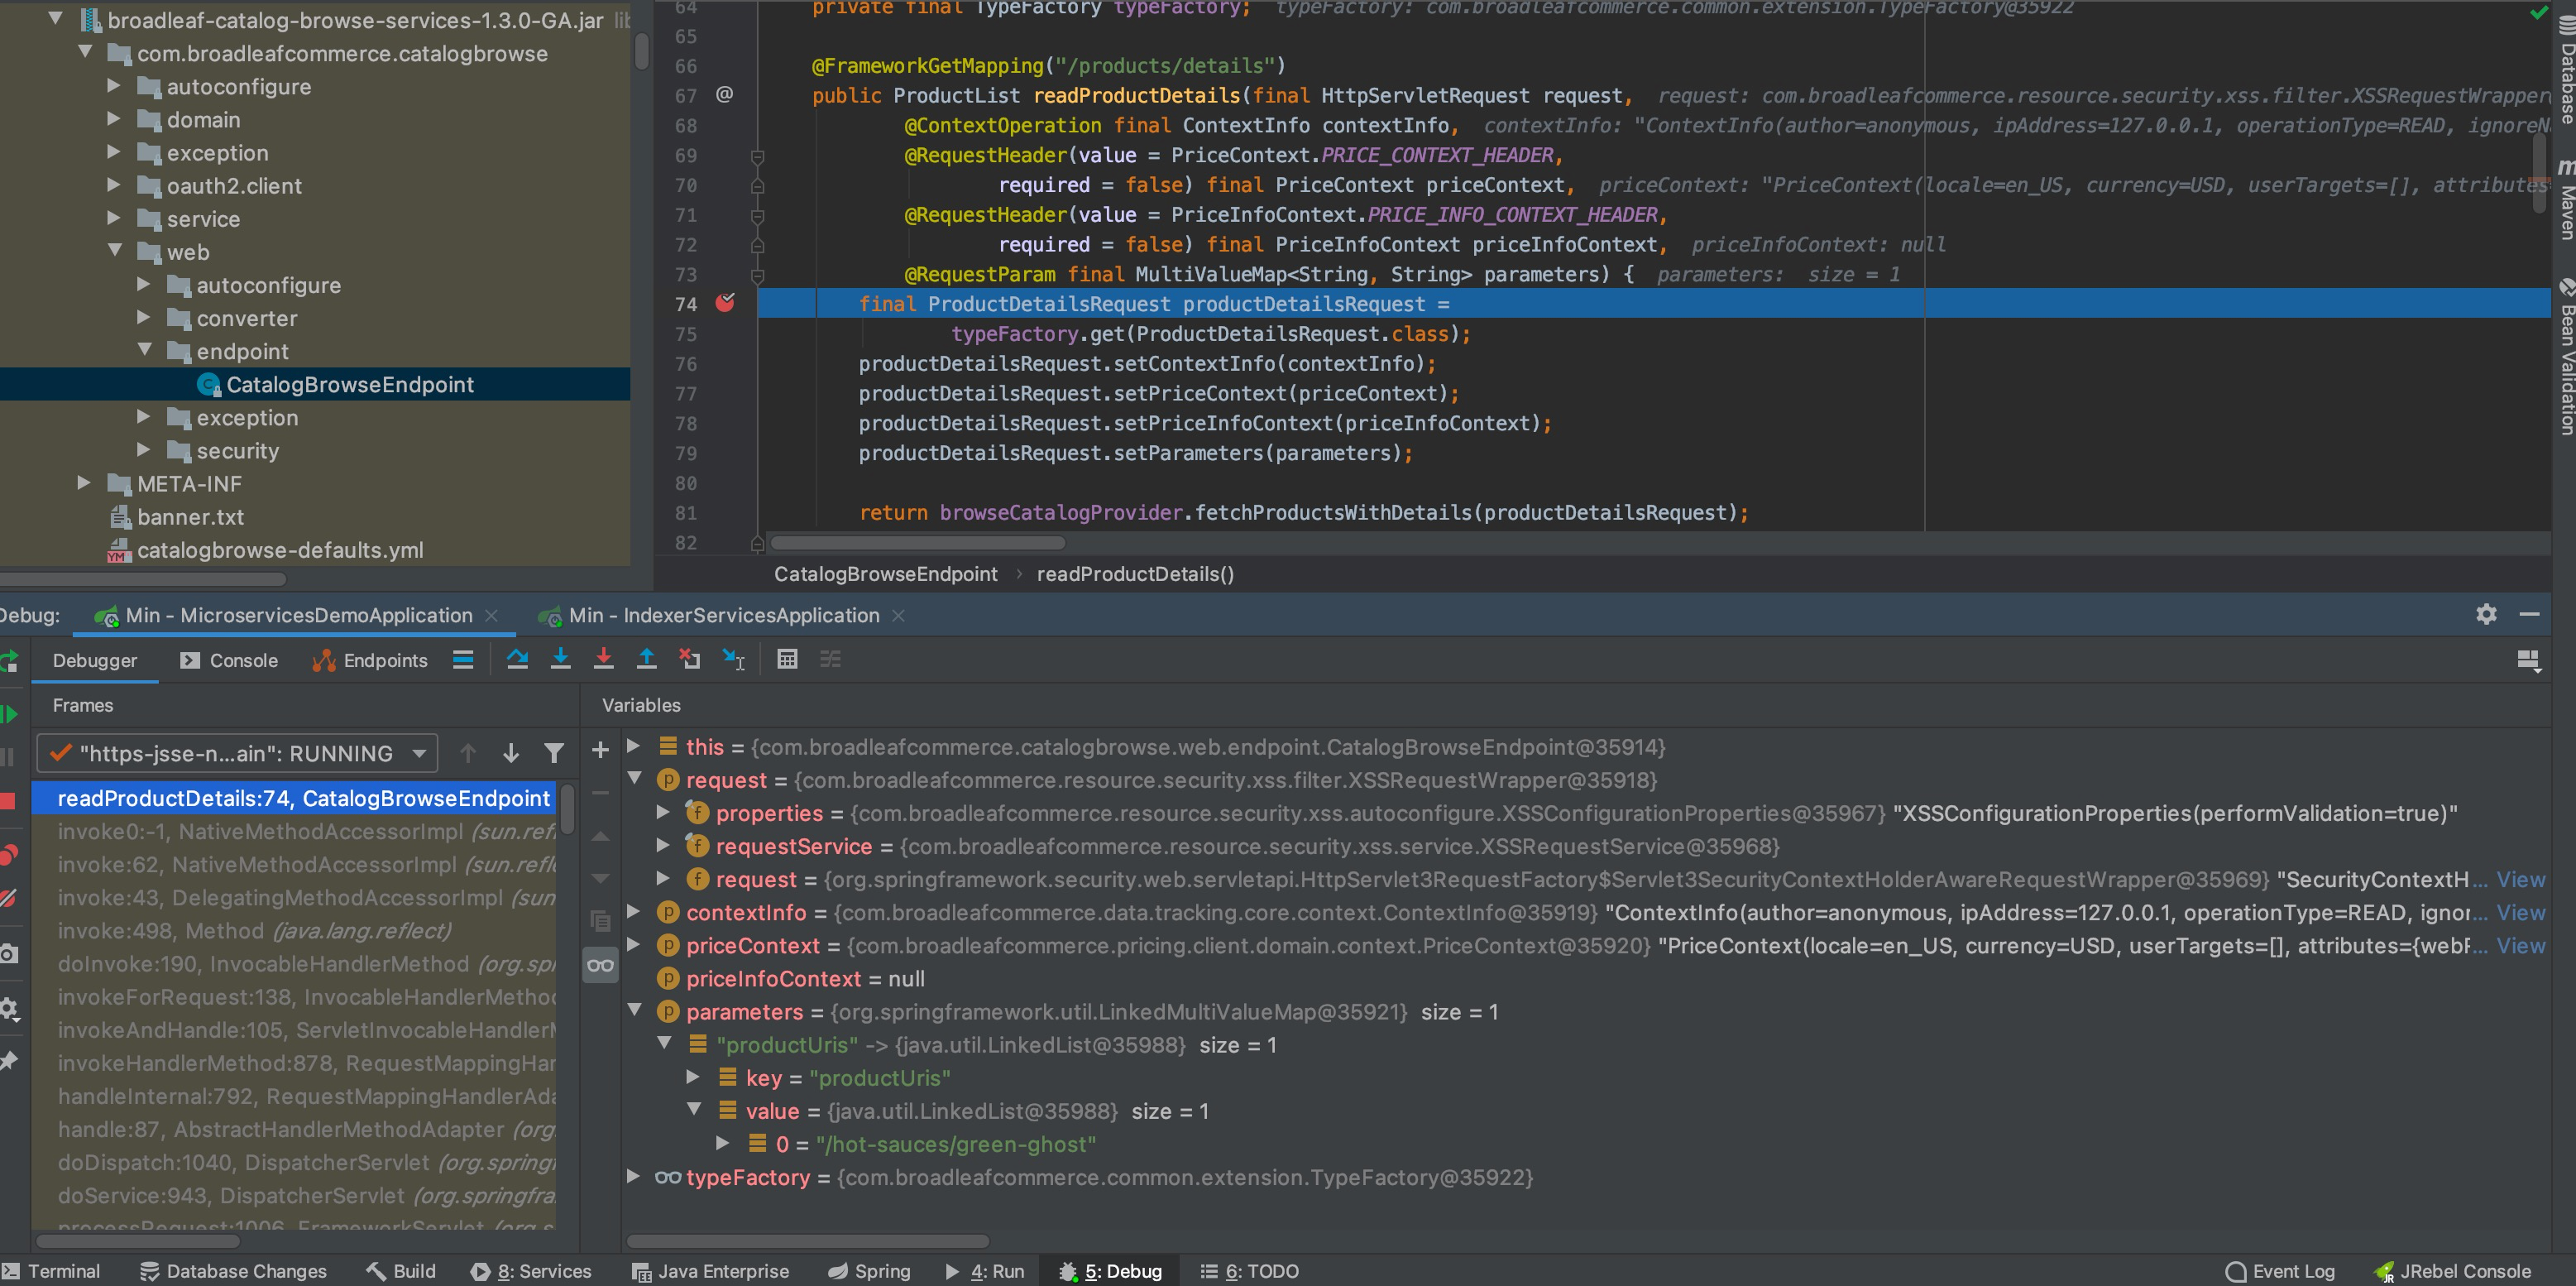
Once your project has been loaded, go ahead and create Run/Debug Configurations for the generated Spring Boot Flex Components.

Note
If you are running IntelliJ Ultimate edition, your IDE should have already detected multiple Spring Boot Run Configurations and mounted them for you automatically.

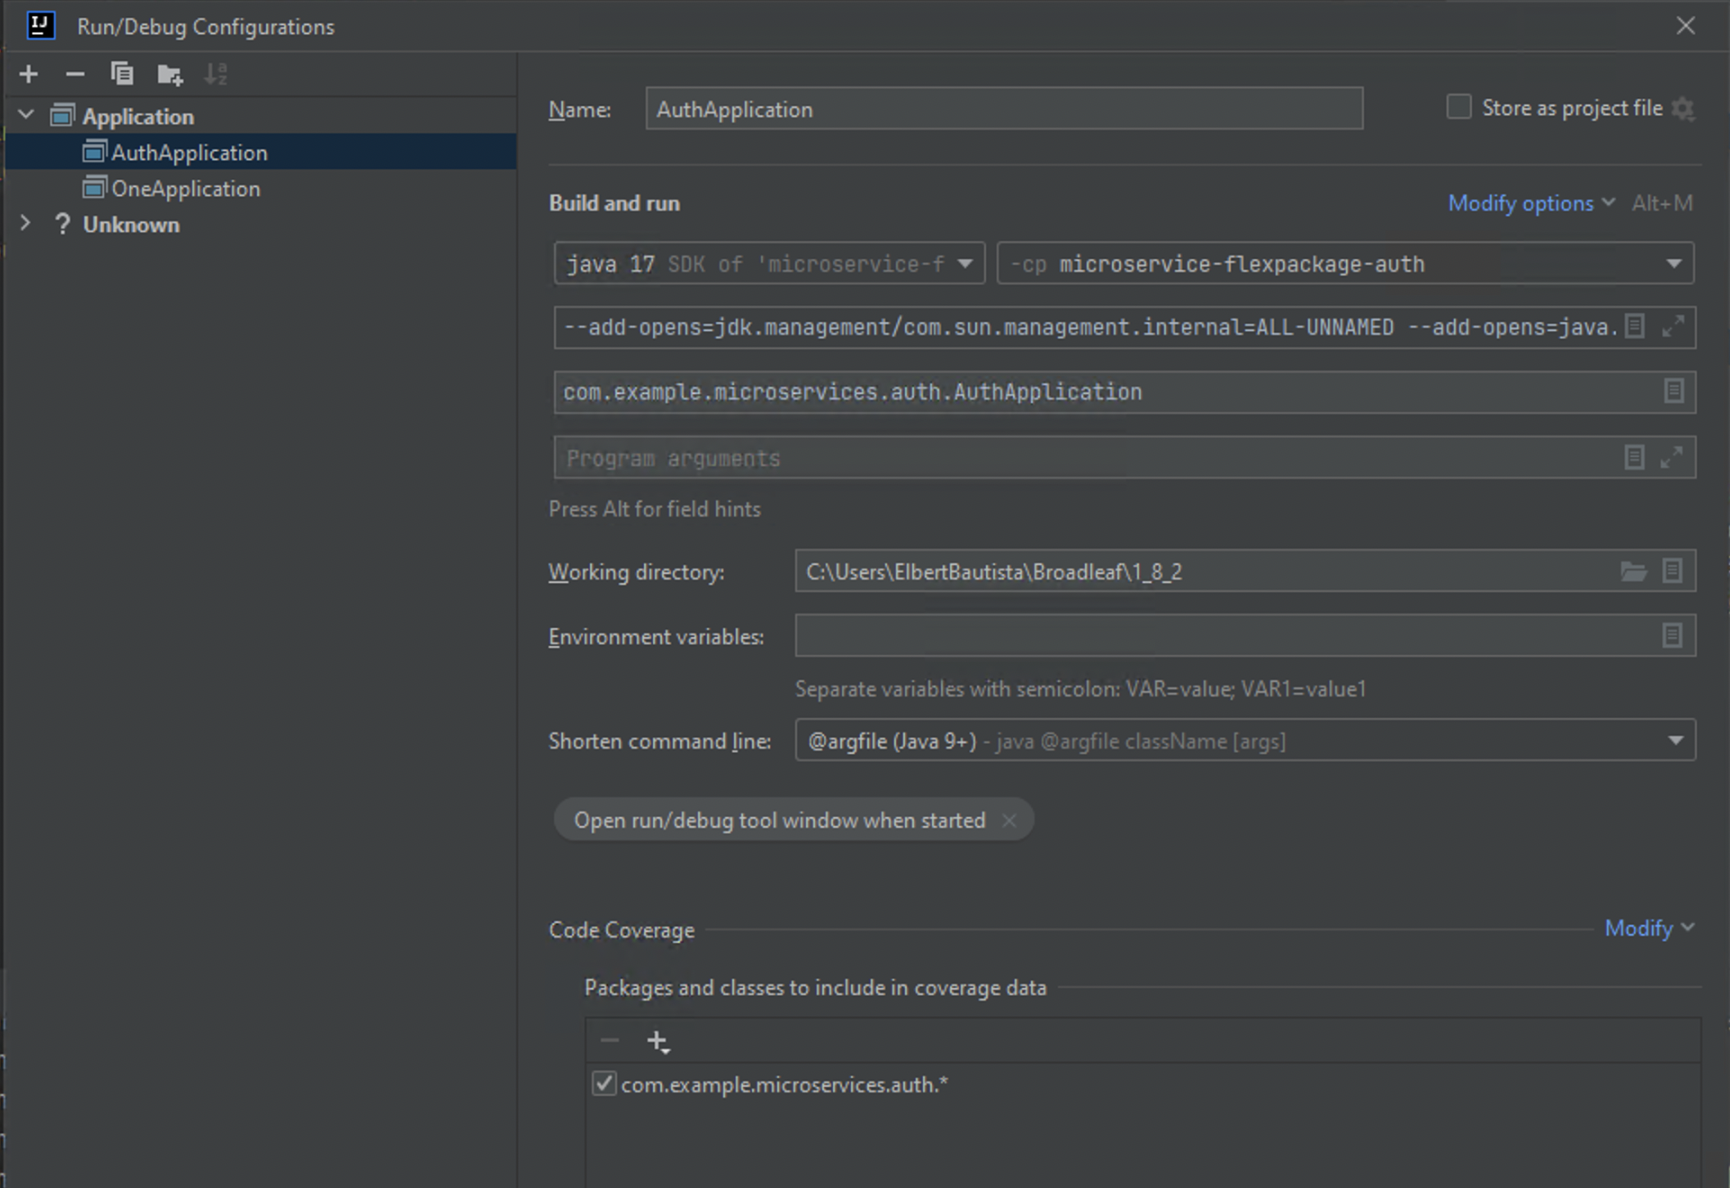
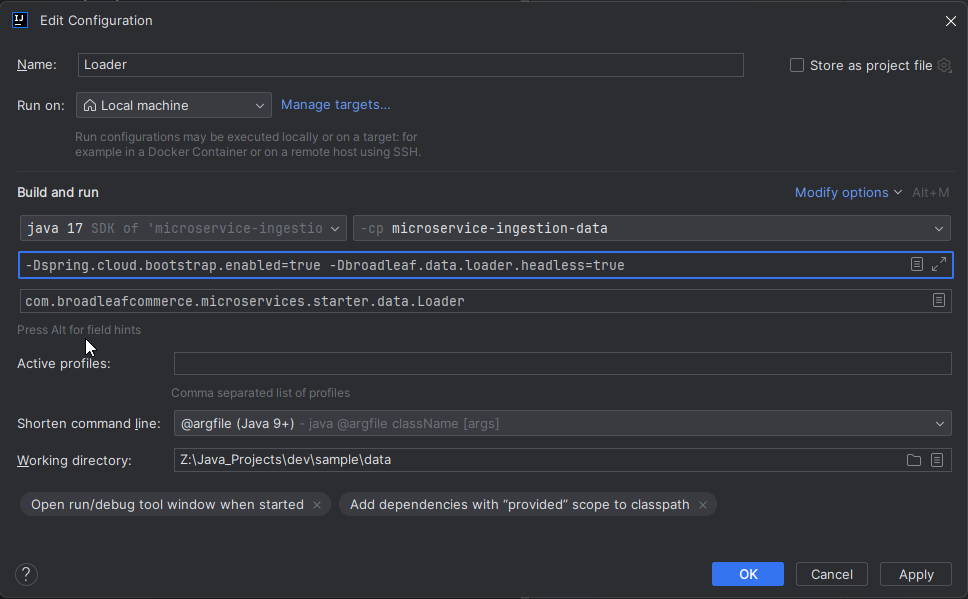
If you don’t see Run/Debug configurations, you can create them easily by navigating to the main Spring Boot Application, right-clicking "run button (green triangle)" on the main class, and selecting Modify Run Configuration…​

Important
if you’re running on Windows, make sure to click Modify Options > and enable the Shorten command line option and choose @argfile (Java 9+).
IntelliJ Windows Shorten Command Line Option

After reviewing, click the Apply button to save the run configuration, and then click OK to save.

Important
for Java 17, make sure to add the required VM Options. More details can be found on the Using Java 17 documentation.

Add Run/Debug configurations for all the Flex Component applications (i.e. Auth, One, Browse, Supporting, Cart, Processing, etc…​) depending on which Flex Composition you’ve configured on your manifest.yml

IntelliJ Auth Run Config Example

Building

Now that we have our workspace setup, we can go ahead and build the project. From the root of the Loose Binding Parent, run Maven > clean install to build all the referenced sub-projects.

IntelliJ mvn clean install
Note

It may take some time during the initial installation as the process needs to download all required dependencies. All subsequent builds should go much faster.

Running

Starting up Supporting Utility Services

Before you start up all the APIs, you’ll need to first start up a few supporting services that are required for the suite of Broadleaf Microservices. These services are provided via docker images and can be run and started from IntelliJ’s Terminal by navigating to the manifest directory of your project and running the following docker maven plugin commands:

For Enterprise License Holders:

cd manifest
./mvnw docker-compose:generate
./mvnw docker-compose:up

For Evaluation Credential Holders:

cd manifest
./mvnw docker-compose:generate -Dmirror=evaluation.docker.blcdemo.com
./mvnw docker-compose:up -Dmirror=evaluation.docker.blcdemo.com
IntelliJ Terminal - docker-compose:generate
Tip
a generated docker-compose.yml file is produced in the manifest/target/docker directory after running the generate command. This file is used by docker-compose directly
IntelliJ Terminal - docker-compose up
Important
make sure to run ./mvnw docker-compose:down when done to free up resources

If you have Docker Desktop, you can verify that all containers have started and your container dashboard should look something like this:

IntelliJ Setup: Container Dashboard

Initialize the Database

Once the docker containers have finished starting up, you can now initialize your database with the appropriate Broadleaf schemas. The manifest project should have generated a data project which could be used for this initialization process.

From the root of your manifest directory, run the following commands:

MacOS/Linux

./mvnw spring-boot:run -f ../data

Windows

java -jar ..\data\target\microservice-ingestion-data-1.0.0-SNAPSHOT.jar --spring.cloud.bootstrap.enabled=true

If you would like a repeatable data initialization launched directly from the IDE, you can create a new IntelliJ Spring Boot run configuration. This screenshot shows a Windows example that leverages the command line shortening workaround. You can do something similar for Mac and Linux.

IntelliJ Data Loader Run Configuration

Starting up the Flex Components (Headless APIs)

Once the supporting docker images have started up, you can launch the spring boot flex packages via the IDE using the mounted Spring Boot Configurations. Click the Run/Debug button for the following:

If you chose the Mono Flex Option:

  • AuthApplication

  • OneApplication

If you chose the Balanced Flex Option:

  • AuthApplication

  • SupportingApplication

  • BrowseApplication

  • CartApplication

  • ProcessingApplication

IntelliJ Application Startup

Done

That’s it! Once you’ve verified that the supporting services and backend APIs are running, you can visit the administration console and the consumer storefronts (if enabled) from a browser:

Note

If you enabled the demo storefront, you may need to enable insecure localhost by visiting: chrome://flags/#allow-insecure-localhost

Note
the default passwords for the initial admin master users are dynamically generated and can be found in your security folder in your credentials-report.env file.

If you enabled the "Open API" on your manifest.yml:

If you enabled the "Hot Sauce Demo" on your manifest.yml:

Note
If you’re not seeing demo data on any of the product listing pages or search result pages, then you may need to go into the Admin, navigate to the Search section, click on Reindex and proceed to Create Job of type Product to start the indexing process. Once complete, you can re-visit the storefronts and products should now be visible.

Evolving Your Project

As your implementation progresses and the understanding of your overall project needs evolve, you may find yourself needing to tweak and modify the manifest.yml file directly after you’ve already generated the initial project structure. Further modification of the manifest.yml directly is supported and encouraged. Once you’ve modified the manifest to change project structure, you can run flex:generate again and the plugin will create the appropriate project changes to support the updated configuration.

Testing Different Flex Compositions

If you originally tested with the Mono/One Flex Package composition and you instead want to test the Balanced Flex Package, you can go directly into your manifest.yml file and configure the following properties:

Example changes transitioning from One to Balanced:

flexPackages:
- name: supporting
  ...
  enabled: false <------ change to true
- name: processing
  ...
  enabled: false <------ change to true
- name: browse
  ...
  enabled: false <------ change to true
- name: cart
  ...
  enabled: false <------ change to true
- name: one
  ...
  enabled: true <------- change to false

Once you’ve made these changes, from the root of your manifest directory, run the following:

./mvnw clean install flex:generate
./mvnw clean install -f ../

You should now see new project directories be generated in the root of your project that pertain to the Balanced Flex Package components.

Debugging

Downloading Sources & Adding Breakpoints

One of the main workflows that encompass working with the Broadleaf Framework is being able to view and debug sources. In this example we’ll show you how to add a breakpoint to a framework controller endpoint.

First, you’ll want to search for the class CatalogBrowseEndpoint. You can use IntelliJ’s Edit > Find > Find in Path support to search for this class. This class is actually an out-of-box Framework Controller that is located in the broadleaf catalog-browse services jar.

Once you’ve found that class, IntelliJ will prompt you to download sources. From here, you can add a breakpoint to the class like so:

IntelliJ Adding a Breakpoint

Once you have this breakpoint set, you can visit the following customer storefront URL to invoke this endpoint: https://heatclinic.localhost:8456/details/hot-sauces/green-ghost

IntelliJ Debugging

Visiting this endpoint should cause IntelliJ to invoke the breakpoint where you can now step through the code and inspect the variables as necessary

Connecting to the Postgres DB

IntelliJ has a built-in database explorer and can be used to navigate and view the postgres DB that is launched with the rest of the supporting utility services in the starter.

IntelliJ Add Postres DB

In IntelliJ, add a new PostgreSQL datasource with the following configuration:

IntelliJ Docker Postgres Connection
Note
the default password for the starter postgres instance is generated and can be found in the security module in your credentials-report.env file.

You’ll also want to make sure that you enable the See All Schemas option for this datasource as well

IntelliJ Docker Postgres Show All Schemas

Once you have the configuration, you should be able to connect to the running postgres service and browse the default schemas and tables that have been created.

IntelliJ Docker Postgres Connected Successfully

Viewing Log Output of the Supporting Docker Services

IntelliJ also has built-in docker support. By clicking on the services window, you can right click on the docker service, connect, and view all running containers.

e.g. you can view the log output of the Auth docker service like so:

IntelliJ Connect to Docker Service

Troubleshooting

  • If you have trouble launching from an IntelliJ Spring Boot run configuration (For example, a strange -1073741819 error code), you may be running up against a IntelliJ/JDK issue. Try setting a different JDK for your project in IntelliJ. We’ve had consistent luck with the JetBrains Runtime 17 during daily development.