- v1.0.0-latest-prod
This tutorial is intended to get you familiar with our interactive OpenAPI UI, powered by Swagger UI.
|
Tip
|
If you haven’t already, we recommend reading our introductory API Documentation article before going through this. |
We have chosen to use this tool to expose our API operations as it provides a well-organized, beginner-friendly UI that also has powerful "Try-it-out" functionality. While you could make requests by manually constructing them in cURL or Postman, we think this tool will be the easiest and fastest way for you to become productive with the API.
|
Tip
|
Still want to execute requests in Postman? See our Postman Setup Reference article. |
Understand the layout and key components of the OpenAPI UI.
Learn how to authenticate and authorize for requests using your provisioned demo credentials.
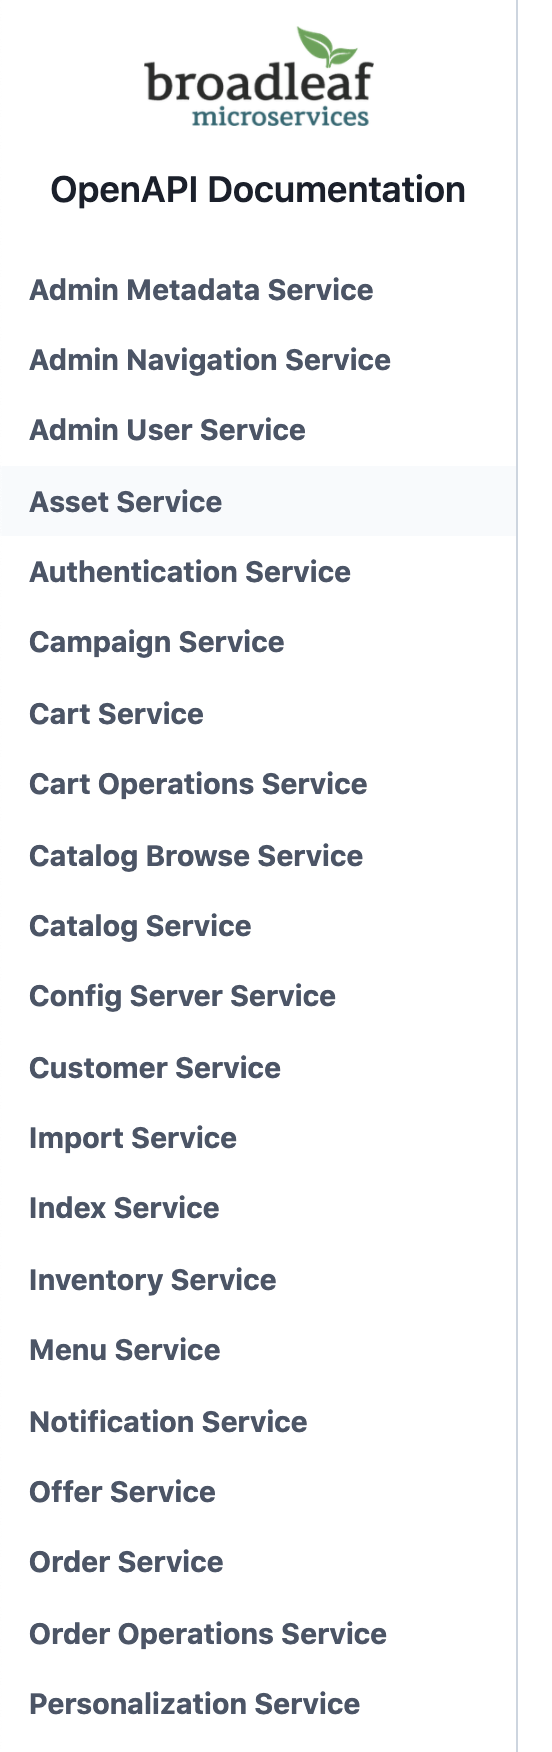
On the left side, there’s a navigation menu with items for each microservice. Clicking on an item will take you to the specification for that microservice with all of its operations.
At the top of each specification, we have some very basic information listed, which is mostly self-explanatory.

Directly under the title, there’s a link to the original yml OpenAPI specification file that drives the content you see in the UI.
See our introductory API Documentation article for the cool stuff you can do with it!
There’s a "Server Variables" section with a "url" variable, which can be used to customize the base path at which requests are made. You should never need to touch this.
There’s also a big "Authorize" button on the right side, which we’ll use later on to authenticate for requests.
These are the real stars of the show - the actual operations the API exposes, with detailed information about request method, path, parameters, responses, and more. They’re grouped by "tags" to make them easier to discover and understand.
Clicking on an individual operation will expand its details. Depending on the operation, this can include the expected request parameters, request body, response codes, and response bodies. There is also a "Try it out" button that you can click to build your own request and send it to the server!
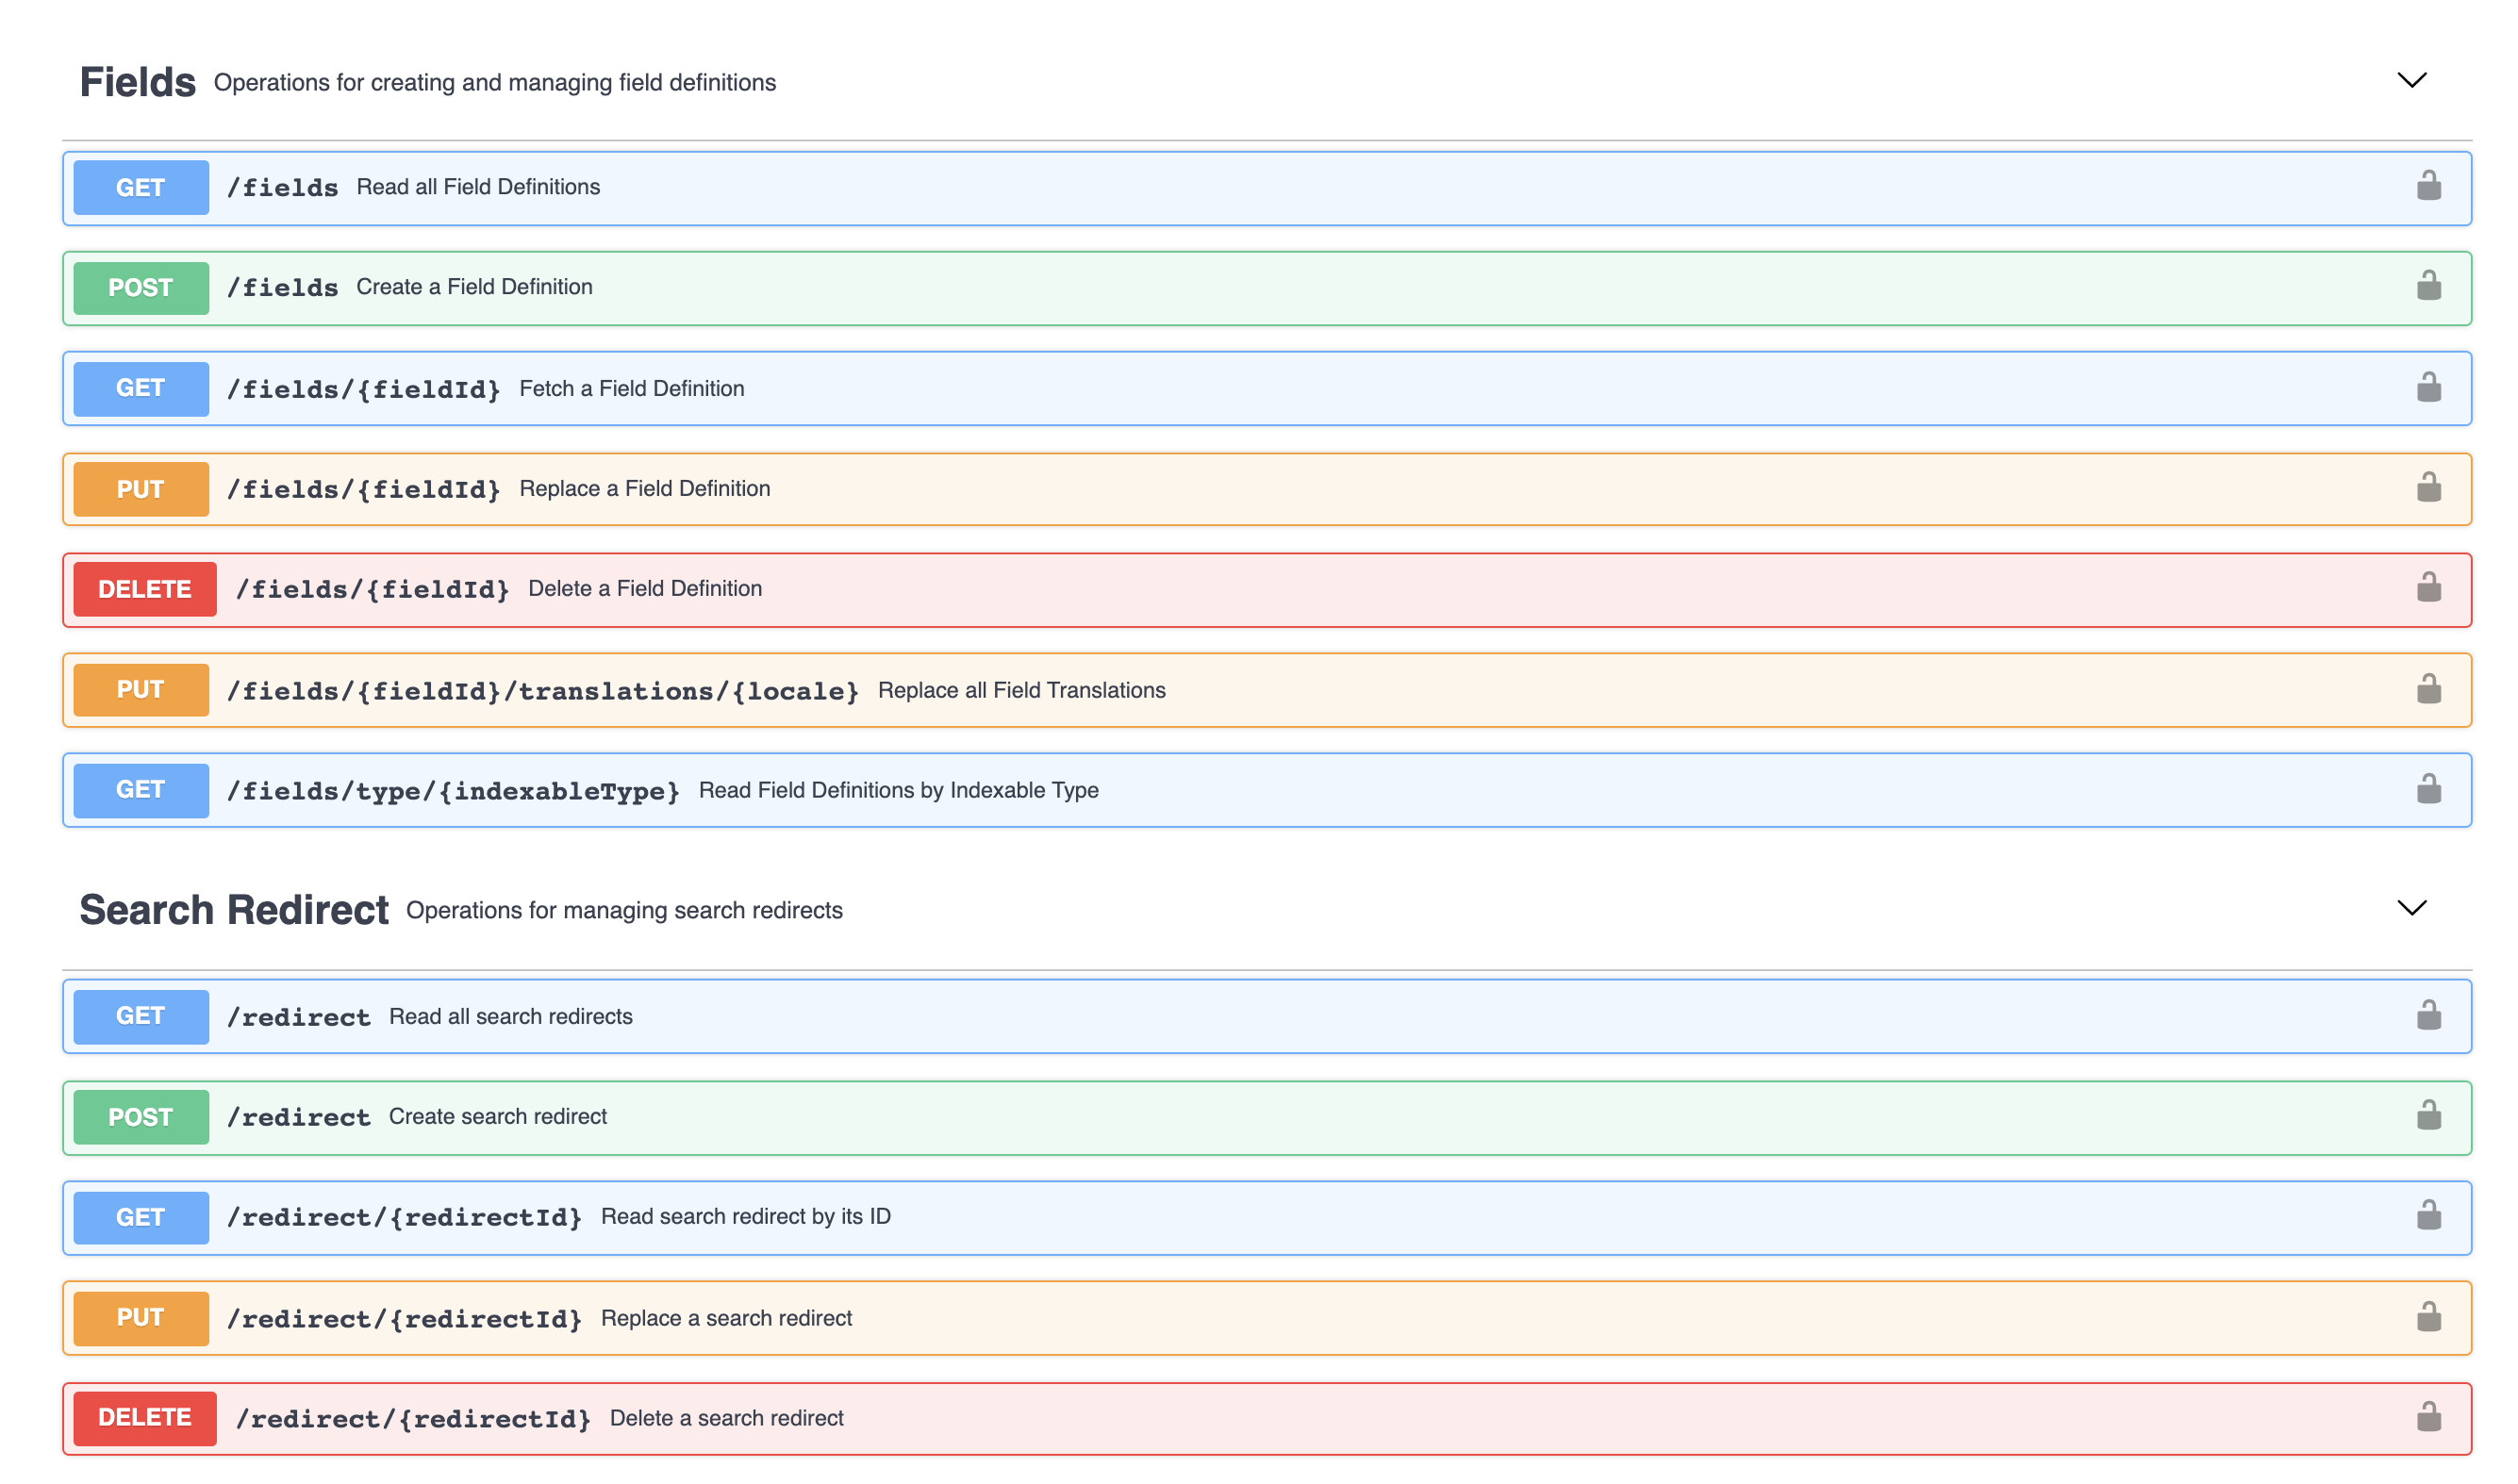
For request bodies and response bodies, the view shows an "Example Value" of the expected structure by default. While useful, the "Example Value" still doesn’t give a conceptual understanding of the structure.
If you click on "Schema" next to "Example Value", you’ll be treated to a view that clearly shows each of the fields to expect, along with their description, type, and defaults.
|
Tip
|
Within a schema, you can click on complex object field values to expand their nested schemas. |
|
Tip
|
A subset of schemas are made available at the bottom of each specification page. |
Almost all operations are gated with security, and this will explain how you can authenticate and authorize correctly.
|
Note
|
You can learn more about our security setup in the Security Article. |
Open the UI’s authentication form by clicking the lock icon on the right side of the operation you want to perform.
![]()
|
Note
|
In some rare cases, an operation may not require security and the lock icon will not be present for it. |
You can also open the authentication form using the green "Authorize" button near the top right of the specification page. However, the benefit of using the lock icon on the operation is that it will exclude certain security scheme options based on what the operation itself supports. For example, some operations cannot be performed using the OpenAPI client credentials, and instead must be performed with a JWT access token for a customer-user’s authentication. In this case, the form loaded by the lock-icon would automatically exclude the BroadleafOAuth2ClientCredentials security scheme from the "Available authorizations", whereas the "Authorize" button may not.
In almost all cases, you should use this approach to authenticate.
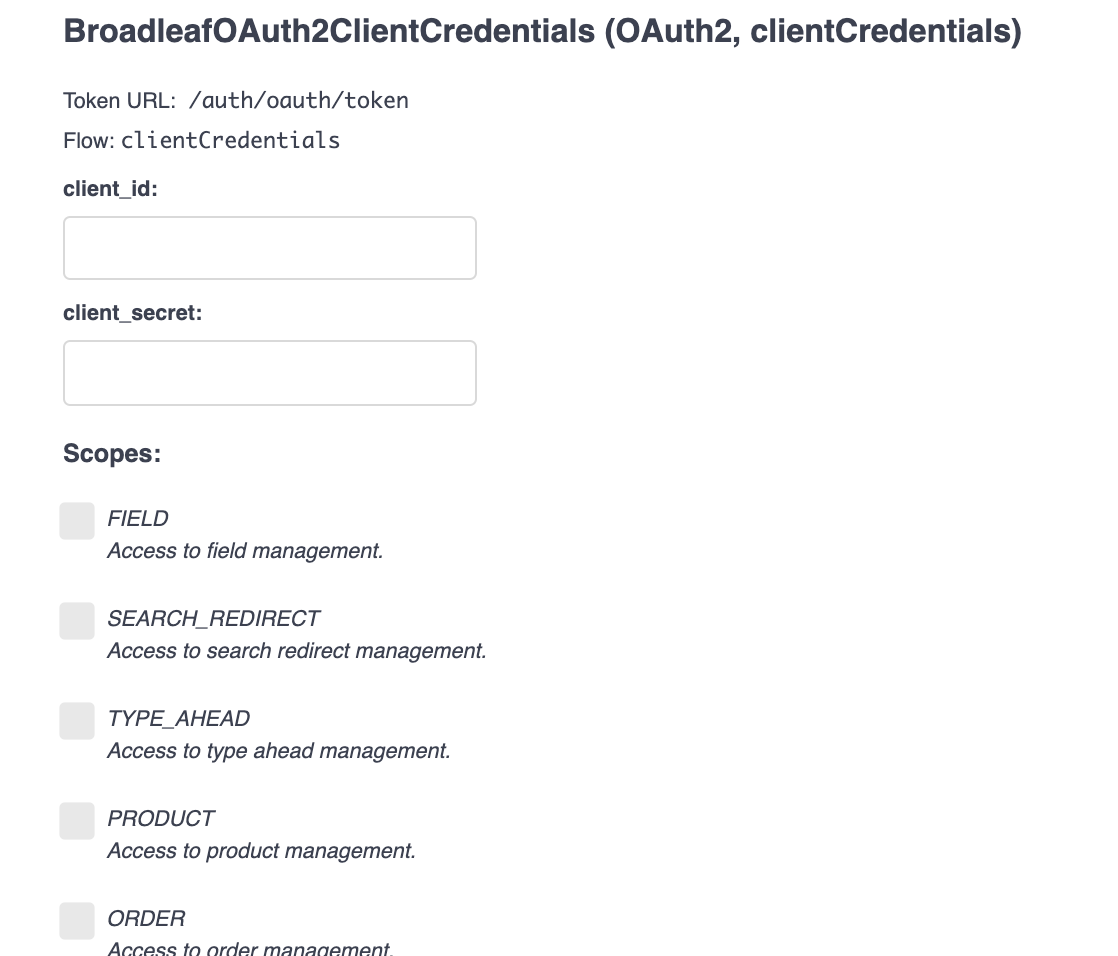
When your demo is provisioned, there will be an OpenAPI client created as well.
The client_id will be of the format openapi_[your-demo-identifier] (ex: openapi_demo123abc).
The client_secret will match the original password assigned to your admin user login.
Enter those credentials into this form.
For local-development instances
If you are running the microservices stack locally, the OpenAPI client is registered with dummy credentials: client_id is openapi and client_secret is openapi_secret.
Enter those credentials into this form.
As each operation requires certain scopes, you’ll want to select them here to request them.
Unsure what scope(s) your operation needs?
You can view the raw OpenAPI specification yml file (explained above), and for each operation you’ll find a security configuration like this:
security:
  # Requires READ_PRODUCT permission
  - BroadleafOAuth2ClientCredentials: ['PRODUCT']
  - BroadleafJWTAuthorization: []
Within the listing for BroadleafOAuth2ClientCredentials, the required scope(s) will be defined.
In this case, it’s PRODUCT.
This is a more direct approach to authorization where you can directly provide a JWT access token that the UI will send with your requests.
It’s useful in more rare scenarios, such as when you want to perform an operation that requires an access token from a customer-user authentication.
This security scheme can also be used if you just want to perform a request as a user. For example, if you’re signed in as an admin user and browsing the admin application, you can grab the access token from your requests in the "Network" tab of your browser’s developer tools. It can then be pasted into this form and used to make requests.
Once you’ve filled out the appropriate form for your chosen security scheme, submit it by hitting "Authorize".
You can then go back to your chosen operation, click "Try it out", build the request, and execute it. The UI will automatically include the access token in the request, and it will succeed!
|
Note
|
For security, the token you obtain won’t last a very long time.
After some time, you may find that the operation returns a 401 "Unauthorized" error.
To resolve this, you can simply repeat the authentication/authorization process.
|